For a Blogger, it is necessary to know each function of it. As our readers know well here we start a blogger course for beginners. Learn through this guide How To Add Pages To Blogger (Create Blogger Page) to your Blog free.
Blogger is a free CMS for all where you can compose your blog or website and make it public. Blogspot.com provide several free tools to attain blogging and optimization opportunities. If you want to start a blog free and also looking forward to different free services, like monetization, SEO of a blog and others, then blogger is the best option for you.
Now for adding a page to your blog or making a proper navigation bar for website readers, you have to follow simple steps. Through a well-customized navigation bar, a user can easily access all important sections of the blog, it also makes a professional look to the blog or website.
So for all over visitors, we make this tutorial that how you can customize your menu bar and how you simply add a link to your menu bar or page navigation. Every blog must require important pages for instance about page, contact us, privacy policy, disclaimer etc. So if you were a blogger you must have to understand how to create these basic pages for your blog?
This article helps you to get the knowledge that how to create these important pages for your blog, just follow the guide below.
Steps For Adding Page To Blogger Blog
Step 1: First of all, log in to your blogger account.
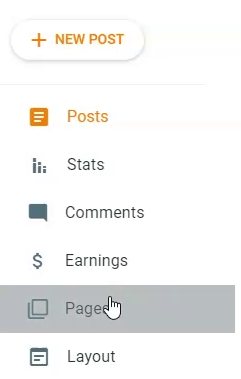
Step 2: After signing in to your blogger account now you have to click on the “Pages” option from the left menu.

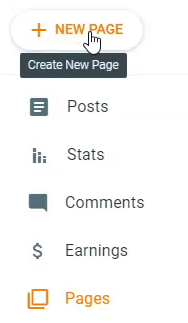
Step 3: Now hit click on “New Page“.

Step 4: Now write your “Page Title” content of the page and click on the “Publish”.
Step 5: Once you published your page now make sure your page was shown on the menu bar or navigation bar of the blog or website. So for that, you need to show the page’s gadget from “Layout”.
- First of all, go to “Layout“
- Now select “Add A Gadget“
- Now select “Pages“

